Below is the results.
 |
| Custom lathe stands for the watchmakers lathe |
I decided to start with brass and make them fairly monolithic for stability and vibration dampening. After laying out the design, I started the process of machining away the excess material.
 |
| Layout and initial machining for Watchmakers lathe stands |
Once the basic machining was done there was a fair amount of hand work.
 |
| Draw filing pillar surfaces |
Since I was going to go through all the trouble of machining and finishing the pillars I also decided to include a mounting slot system on front and back that would accept a standard 1/4-20 bolt. I plan to add an adjustable rail along the front to hold gauges for reading out movement of the cross slide. I'm also going to use the mounting system to hold a full width swarf tray that will be removable for easy emptying. This will also act as the mounting surfaces for the custom threading attachment I have well under way.
 |
| Fully machined lathe stand ready for radiusing and edge breaking |
 |
| 1/4-20 bolt slot designed for stand for watchmakers lathe |
 |
| 1/4 bolt slid into mounting slot on watchmakers lathe stand |
 |
| Ready for mounting accessories! Can't wait! |
Because the pillar vertical radii blend into the larger radii that flare to the base and top, it required filing those radii into the part.
 |
| Filing radii onto the vertical pillar corners |
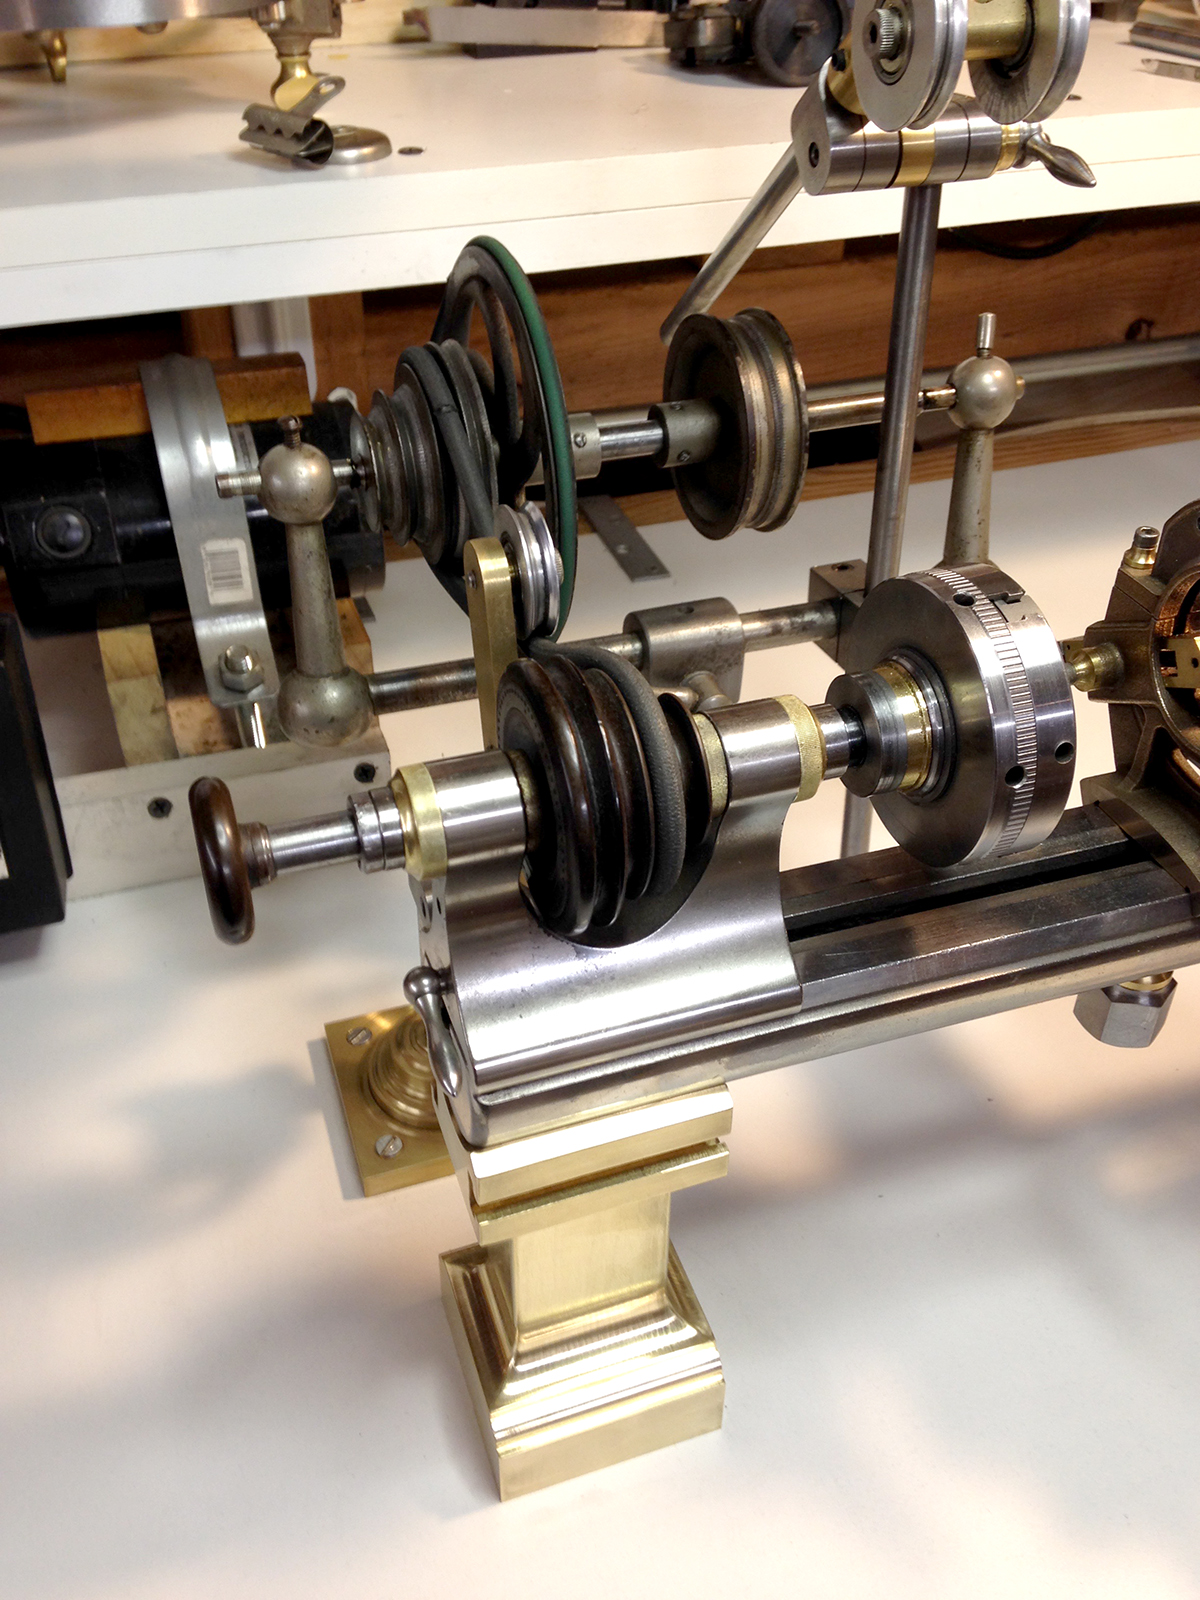
I'm very pleased with how the parts turned out as well as how they look. I can't wait to start making the accessories that will attach to these pillar stands!
 |
| New pillar stands on the watchmakers lathe |
 |
| New pillar stands on the watchmakers lathe |
 |
| accessory mounting slots visible on watchmakers lathe stands |
 |
| watchmakers lathe stand in brass |
 |
| New Watchmakers lathe stands |


No comments:
Post a Comment